
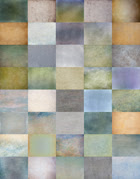


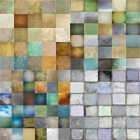


The first texture I tried was Pompeii stucco, an easy-to-use texture that adds depth.

I opened the texture in photoshop and dragged it on top of my photo, don't worry if your texture is a different size or shape from your image, just resize to fit.
Once your texture is covering your image, have a play with the blending modes and opacities. Here it is at Soft Light 47%

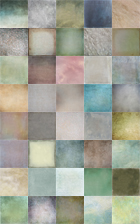
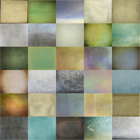
I rarely use just one texture on an image so I tried some more and ended up using a layer of Necropolis at Overlay -40% and a layer of Elysium at Colour burn -14%

Just a quick curves adjustment layer to tweak the tone and contrast a little. Click "Create new fill or adjustment layer" button at the bottom of your layers pallet and selecting curves from the drop down list.

And we're done!


5 comments:
Superb, I love the clarity of this tutorial.
Jill, you are the master tutorialist!:-)
What a fabulous way to teach textures...Even a newbie like me should be able to follow and enjoy...Thank you so much...
Thanks Missnoma, glad you found it helpful :-)
I love your tutorials. One question, when you are satisfied with your edit, do you flatten the image?
Thanks.
Hi, glad you enjoy the tutorials. What I do is save as the PSD file with the layers intact so I can go back later and tweak things if necessary or reproduce the effect in another photo (you can drag layers between documents) and then I flatten and save as jpeg in two different sizes -one small for online use and a large one for things like printing or Getty. So in reality I end up with3 files, a psd complete with layers, and two finished jpegs and that's not counting the original raw file and the unprocessed Jpeg.
Hope that makes sense.
Post a Comment
Note: Only a member of this blog may post a comment.