


Another shot taken on a walk on the lovely Doctors Point Beach just to the north of Dunedin. These same people appear in a similar shot but I processed this one quite differently which shows how a different textures can give the same scene a whole new look. As well as some Flypaper Textures, I used a new one that will be available in a soon to be released pack once we've made up our minds what to include :-)
To start with I duplicated the the base layer, I then blurred that layer using the lens blur and added a layer mask and removed the blur from my subject, the people
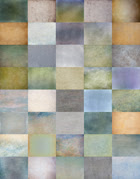
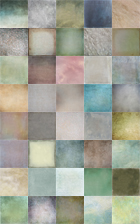
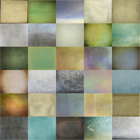
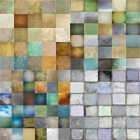
The textures I used were
Tarte Tatin @Soft light 45%
Shargreen Bone @Overlay 45% This layer had a mask added to remove the texture from the ground area.
Bruised Saffron @ Overlay 13%
Lamp White Brush @ Soft light 25 % with the texture removed from the ground as before.
Unnamed new Flypaper (available soon!) @ Overlay 77%


